In this three-part tutorial, I will demonstrate how you can build a simple Man-in-the-Middle system using Rogue WiFi Access Point. In the first part, I will cover the installation of pre-requisite tools to get started.
Note: I am NOT going to show how to decrypt TCP/IP packets. That is out of this tutorial’s scope.
I also put this tutorial on Instructables.
If you like video-playthrough, you can find it on youtube.
What is a Man-in-the-middle attack?
A man-in-the-middle attack is a form of cyber-attack where the attacker sits in between two parties who think that they are communicating with each other without knowing that all their communication is going through the attacker, who can simply listen to their “conversation” and/or can alter the communication. Wikipedia has a great example:

Suppose Alice wishes to communicate with Bob. Meanwhile, Mallory wishes to intercept the conversation to eavesdrop and optionally to deliver a false message to Bob.
First, Alice asks Bob for his public key. If Bob sends his public key to Alice, but Mallory is able to intercept it, a Man-in-the-middle (MITM) attack can begin. Mallory sends Alice a forged message that appears to originate from Bob, but instead includes Mallory’s public key.
Alice, believing this public key to be Bob’s, encrypts her message with Mallory’s key and sends the enciphered message back to Bob. Mallory again intercepts, deciphers the message using her private key, possibly alters it if she wants, and re-enciphers it using the public key she intercepted from Bob when he originally tried to send it to Alice. When Bob receives the newly enciphered message, he believes it came from Alice.
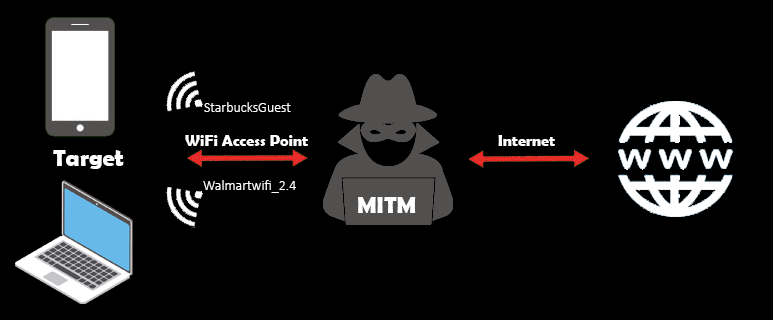
What our MITM system will look like?
We will create a WiFi access point for general users to connect to. We will pretend that we are a legit WiFi Access Point (e.g. StarbucksGuest, AT&T_Free, Walmartwifi_2.4) so that they will connect to the access point to use free internet. We will surely provide them the internet access but all their communication will go through our looking glass.
Note: Which is why you should never connect to a free WiFi access point and then start login into all your financial accounts. It is unlikely that any financial institutes pass your credentials in plain text, but better safe than sorry.
What will we need?
We will need a WiFi adapter and Linux OS. I will use a virtual machine to install Linux but the instructions will work for a natively installed Linux too.
1. WiFi Adapter
We will need an external WiFi adapter, which will be used to create an access point. The WiFi adapter needs to support AP mode and Monitor mode. I am using this WiFi adapter, which uses Atheros AR9271 chipset. So any adapter with Atheros AR9271 should work. If you can’t find it on Amazon, check Aliexpress. But if you already have an adapter or want to buy another adapter you can check if the chipset is supported on Linux and supports both Monitor and AP mode.
1.1 How to find a WiFi adapter’s chipset?
- If you don’t know the chipset of your adapter, first check the manufacturer’s website. Sometimes they will mention the chipset in their user-manual or on their website.
- If your adapter/router has an FCC ID, you can use that to look up the chipset. For example, at the back of my Linksys router I have this:
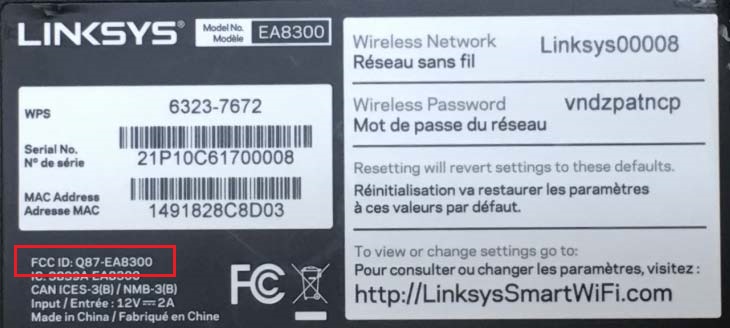
- The FCC-ID is
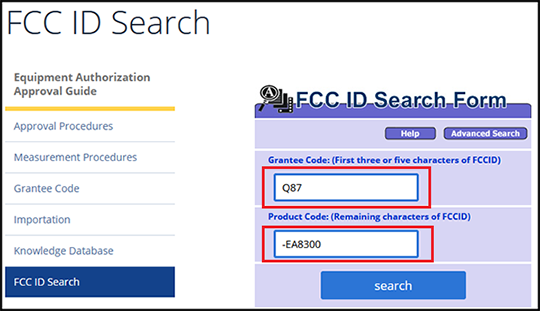
Q87-EA8300. Googlefcc id searchor just go here and type the ID as shown below (don’t forget the hyphen):
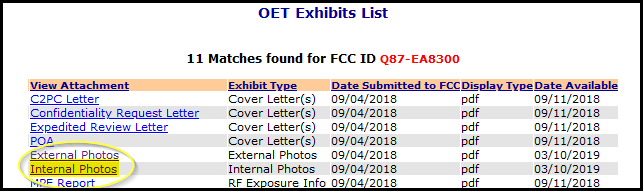
- Let’s choose the latest entry and click on
Detail.

- Now click on
Internal Photos.
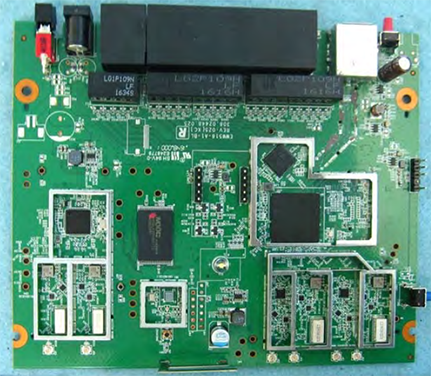
- Now scroll through the images and try to find the wireless chipset. Usually, the shielded part of a board contains the wireless chipset (shown below).
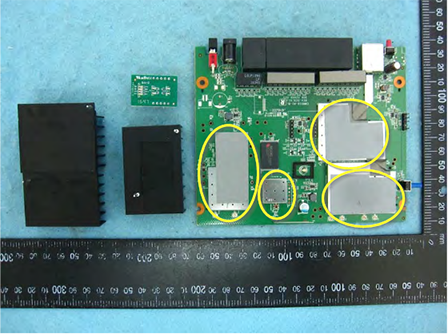
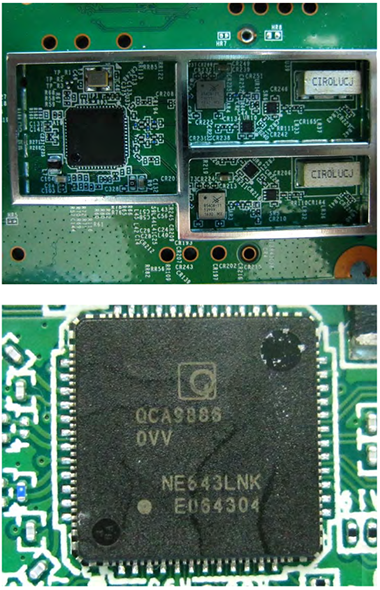
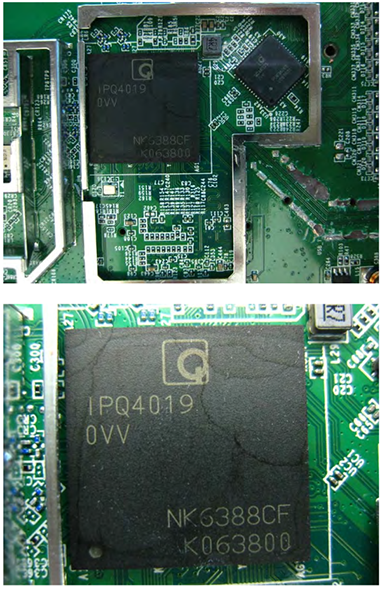
- We see there are three ICs under the shields. We need to find out what are those. Keep scrolling the document.
- The left one is a WLAN SoC, QCA9886, from Qualcomm.
- The right one is a WiFi SoC, IPQ4019, from Qualcomm too.
- Right next to it is an Ethernet Transceiver, QCA8075.

1.2 Checking Linux Support
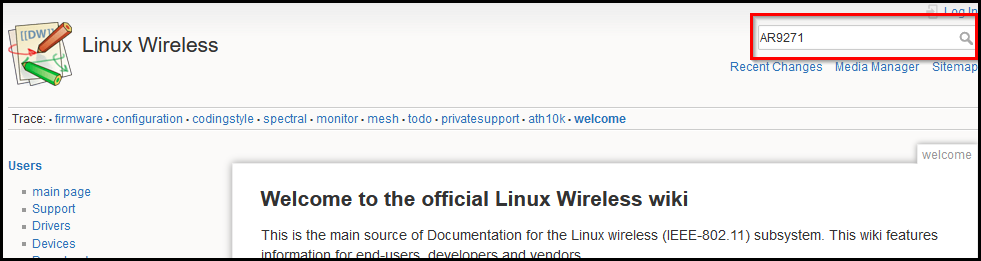
Let’s see how to check if a chipset is supported on Linux. First, go to wireless.wiki.kernel.org. On the top-right search-box search for your chipset. If I search for AR9271 this is what I get:

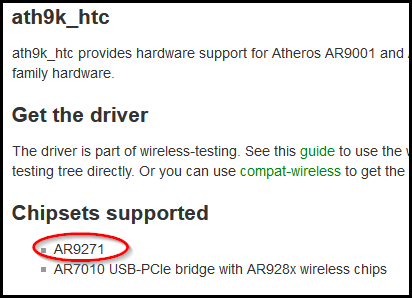
Click on the matching pagenames link. It will take you to the ath9k_htc driver page. There you will find the supported chipsets:
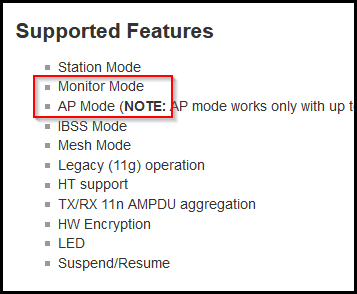
Scroll down for Supported Features. There we see it supports both Monitor and AP mode.
2. Linux: Kali or Ubuntu
We will be doing everything in Linux OS. If you are a Windows fan (like me!), then fear not, we will be using a Virtual Machine, VMware specifically. I will be using two flavors of Linux, Kali Linux, and Ubuntu. Kali Linux is a Debian-derived Linux distribution designed for digital forensics and penetration testing. Ubuntu is a Linux distribution based on Debian and composed mostly of free and open-source software.
As Ubuntu is ubiquitous, I will provide the screenshots, examples etc. for Ubuntu and then will mention the differences, if any, for the Kali Linux.
2.1 Installing VMware
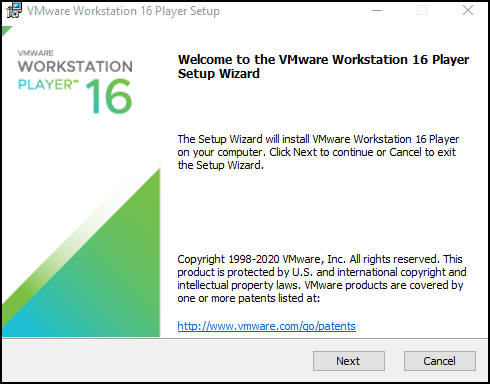
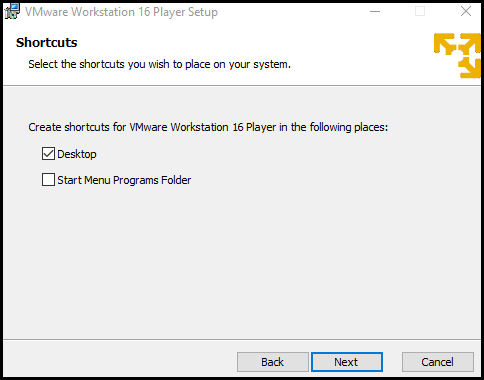
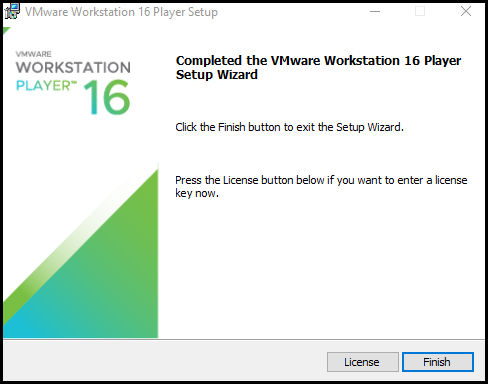
Download VMware Workstation Player (at the time of writing the version was 16.0). Double click the installer to start the installation.
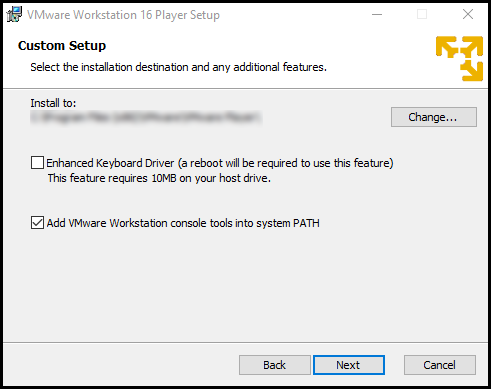
If you want to use the VMware console add it into the system PATH. In this tutorial we won’t be using that, so you can deselect it.

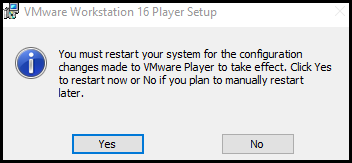
If the installer asks for a reboot, choose yes.
2.2 Installing Ubuntu on VMware
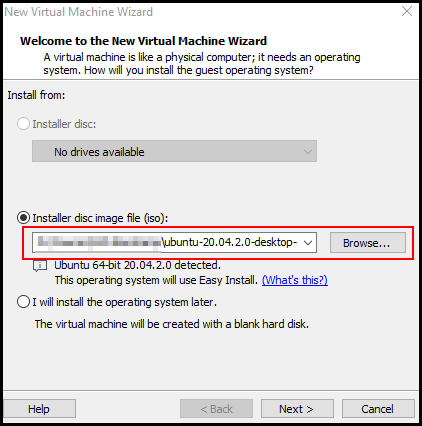
Go to the Ubuntu download page and download the Ubuntu LTS version image, instead of the latest version. LTS versions are more stable and guaranteed to be supported for a five-year time. At the time of writing this tutorial, the LTS version was Ubuntu 20.04.2.0 LTS.
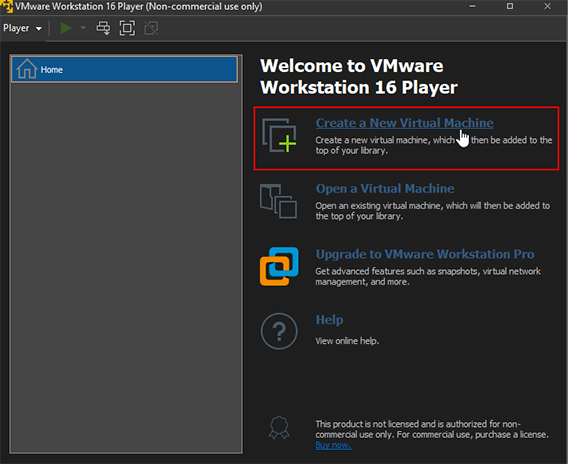
Start the VMware Workstation Player and click Create a New Virtual Machine.
Browse for the Ubuntu ISO image and click Next.
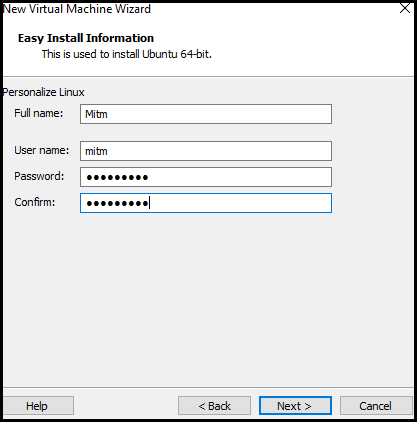
Fill up Full name, User name, and Password.
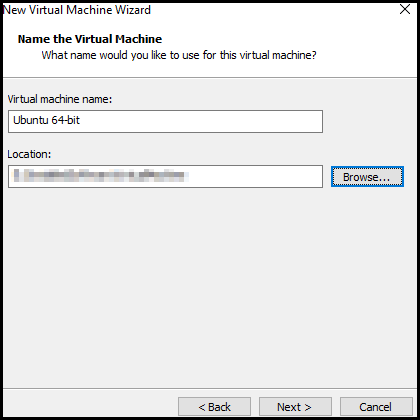
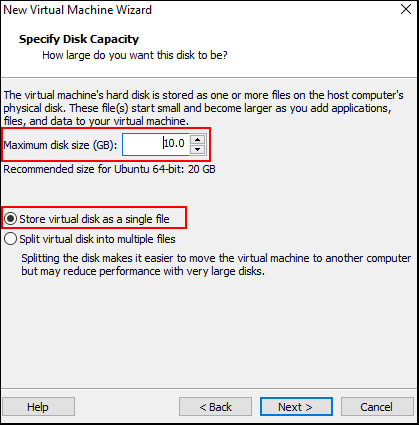
Select a location where you want to install the Ubuntu. We will need at least 10GB.
Now select the disk size. Although it says 20GB is recommended but we are only going to install a handful of tools. Ubuntu needs around 5GB to run properly. We will select 10GB so that we can have some room for new tools. If you want to use Ubuntu for other purposes feel free to increase the size.
Also, select the virtual disk to be a single file. In this tutorial, we are not going to move the VM to another machine.
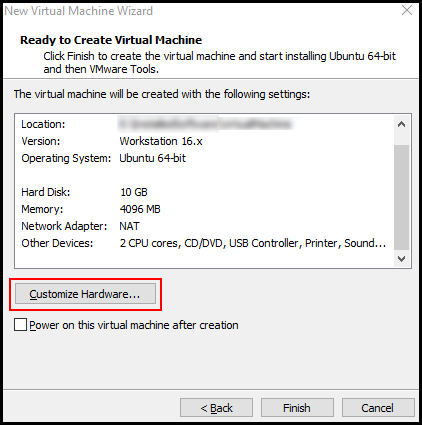
We will have to change some of the hardware configurations. So click Customize Hardware....
First, we will change the Memory size. We are not going to do any resource-hungry task, so we can reduce it to the recommended minimum, which in my case is 2GB.
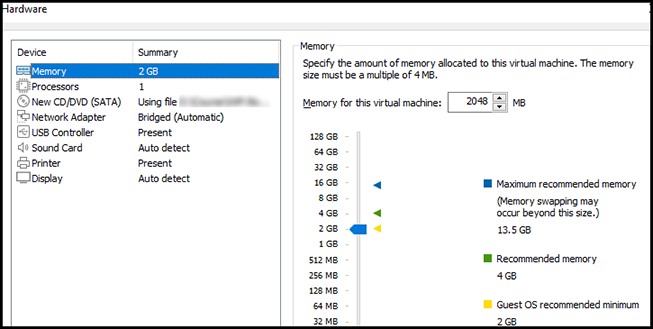
Then change the Number of processor cores to 1.

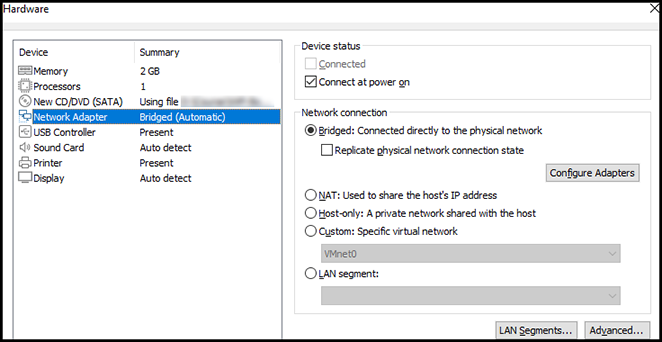
The default Network Adapter option is to share the host’s IP address. Change that to select the Bridged option so that Ubuntu can have a direct connection to the network adapter of your system.
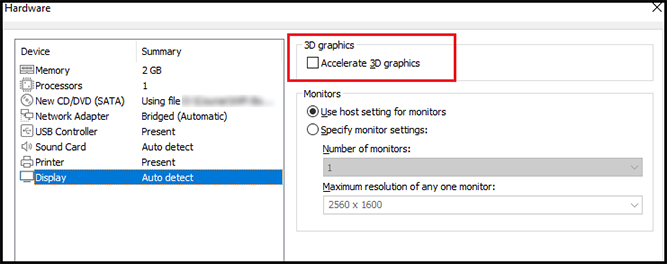
We are not going to run any 3D applications so turn Accelerate 3D graphics off.
Once you finish making all these changes the window should look like this:
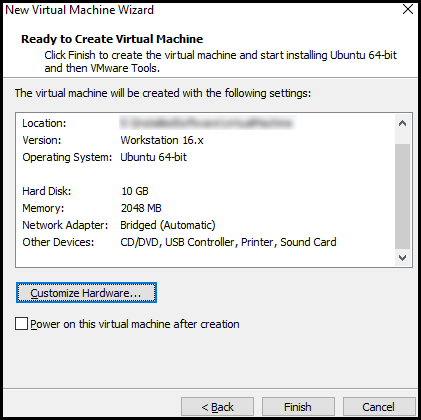
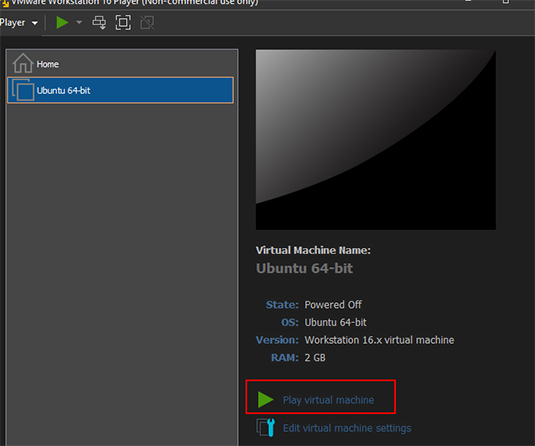
The settings are done. Click Finish. Now click Play virtual machine to start the Ubuntu installation process.
Now you may or may not come across this error when you start the virtual machine. If not, great. You can skip the rest of the error solving process. But if you do follow along.
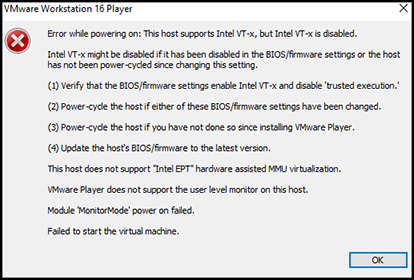
This can be fixed from BIOS. Restart your PC and press the BIOS key. It can be F1, F2, or any other key. In my case, it was the Delete button. Sometimes it is mentioned during the restart process which key needs to be pressed. If not, check your Laptop/Desktop’s manufacturer website/user manual.
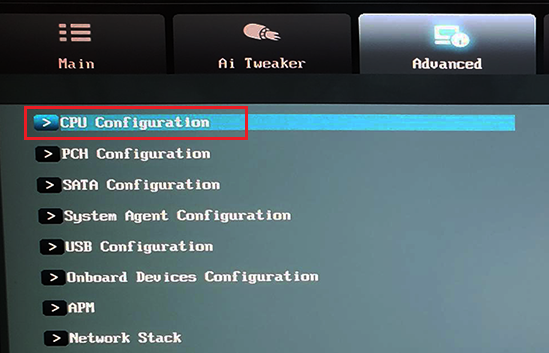
Once I got into the BIOS I went to the Advanced->CPU Configuration.
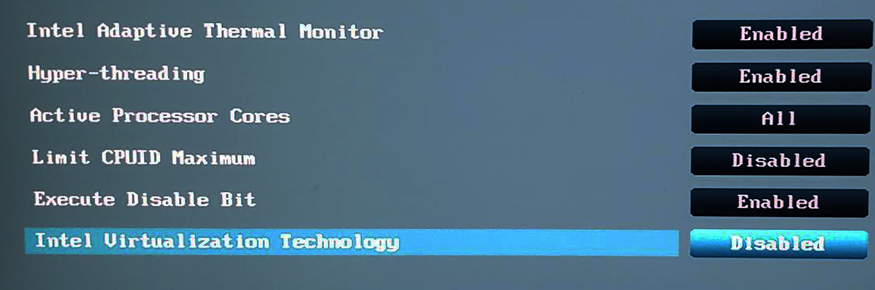
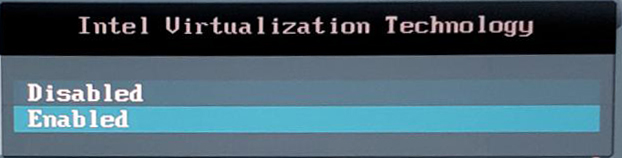
Find the Intel Virtualization Technology option. If it is disabled, enable it.
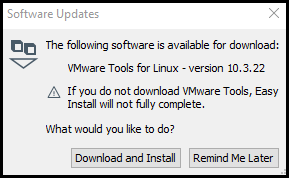
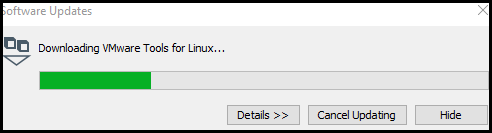
Now let’s get back to VMware Player again and click Play virtual machine to start the Ubuntu installation process. During installation, if VMware asks for an update, or wants to install VMware Tools for Linux, download and install it.
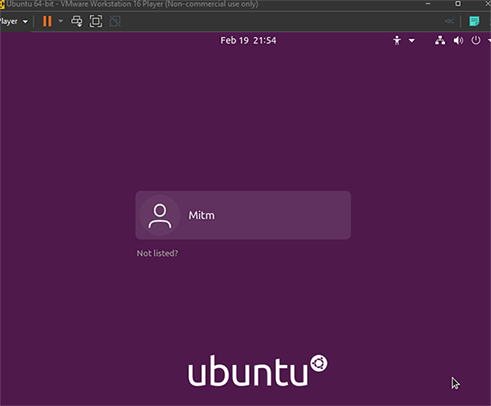
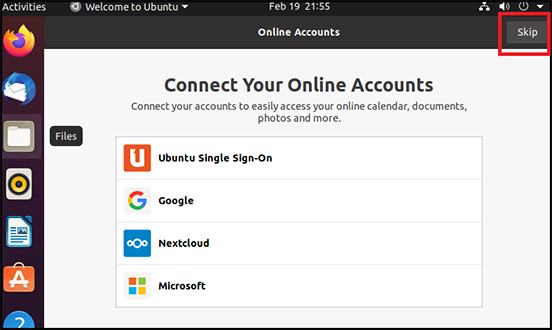
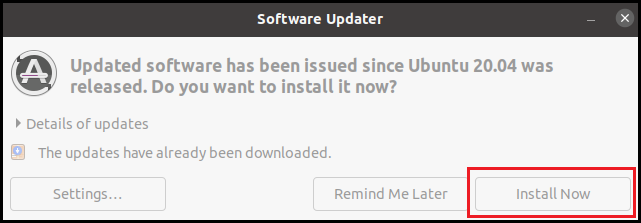
Once the installation is finished login with your credential. Go through the initial setups or skip it. If it asks to install the update, go for it.

2.3 Installing Kali Linux on VMware
There are two ways to use Kali Linux. You can download the Kali Linux image file and install it similar to Ubuntu installation. Or you can download the image made specifically for the VMware Virtual Machine. The later option is easy and good enough for our purpose.
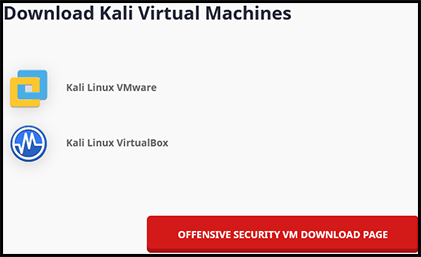
Go to Kali Linux download page and find “Download Kali Virtual Machines” and click on the big red button:
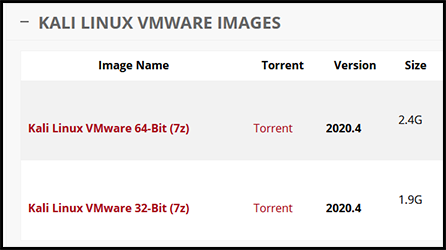
From there download the appropriate image according to system configuration.
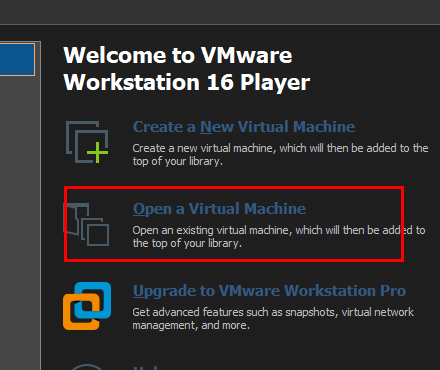
Once the download is finished, unzip it. Open the VMware Player and select Open a virtual machine. Go to the extracted folder and select the “*.vmx” file.
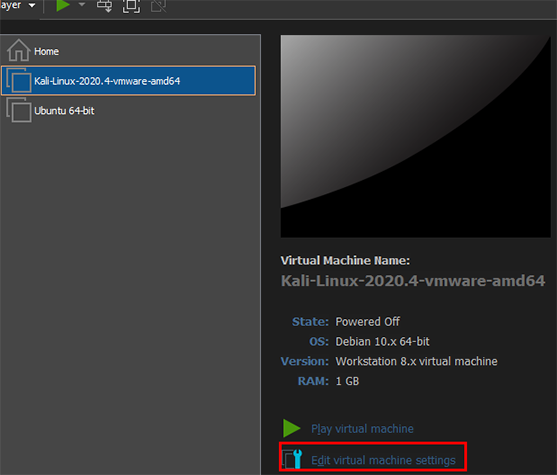
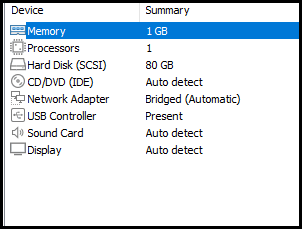
Select Edit virtual machine settings and change the Memory to 1GB, Processors to 1, and Network Adapter to Bridged. Click Ok to save the configuration.
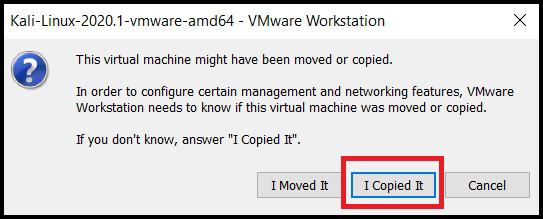
Select Play virtual machine. That will start the Kali Linux. A dialog box might prompt asking you if you have moved or copied the VM. Click on I copied it to continue.
You will see the GRUB boot loader and after some time, VM will start and you will see the login screen. Login with:
User name: kali
Password: kali
And with that concludes the first part of this tutorial. In the next part, I will show how you can sniff packets and save them to analyze them later.