In this part 2 of the “Build a Man-in-the-Middle System” tutorial, I will demonstrate how to sniff, read and save (in a file for later analysis) WiFi packets using native command-line tools in Linux (Ubuntu and Kali). I will start with typing each command in the terminal and then will show how you can automate that with a script. I will go through each command with some explanation at the beginning and then at the end I will put all the commands together so that you can simply copy-paste the commands. Let’s get started.
1. Sniffing
Step-1: Connect WiFi Adapter to Ubuntu
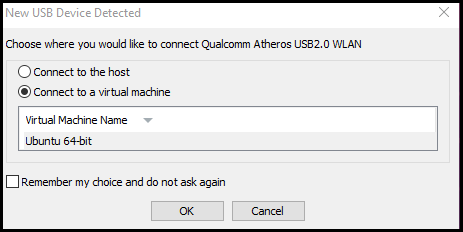
The first thing we are going to do is transfer the WiFi adapter connection from Windows to the virtual machine (Ubuntu).
- Run the VMware player and start the virtual machine.
- After login to OS, plug the WiFi adapter into a USB port.
- That should generate a prompt asking where you would like to connect your device. Choose virtual machine and press OK.
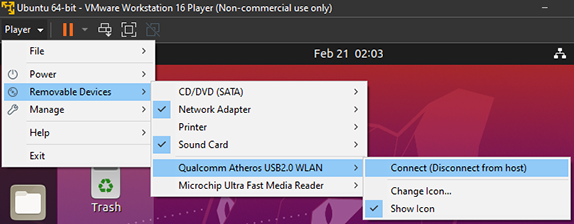
- You can also add your device from the menu.
- Once that is done, click the network manager at the top right corner. It shows that the WiFi adapter is active (but not connected to any network).

You need to have a separate way to connect to the internet, and not using the Atheros WiFi adapter (unless you have two of those). We will use the Atheros WiFi adapter to create a rogue access point for others to connect. You can have another WiFi adapter, dongle, hotspot, LTE, ethernet, etc. to connect to the internet. We will create a bridge between your internet connection and your rogue access point so that when a user connects to your access point you can monitor the bridge and see what is happening. In my case, I am connected to the internet through ethernet.
Step-2: Stop Network Manager
The Network manager in Ubuntu is a background process that takes care of all the networking-related processes. For example, when you plug in an ethernet cable the network manager will automatically send a DHCP request to grab an IP and a default gateway. When you connect a wireless adapter it will automatically scan for access points and provide you a list.
We need to stop the network manager. Because we want to have full control of the adapter so that we can change the mode (AP, Monitor), turn on/off the adapter, select channel, etc. If the network manager runs in the background, we won’t have full control to do those things.
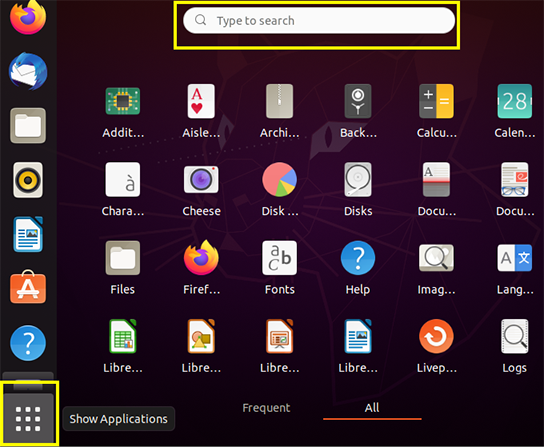
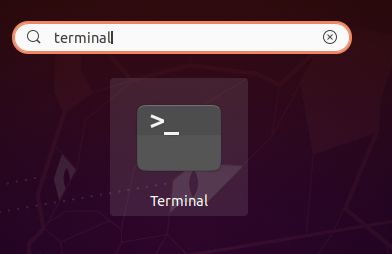
Bring up your terminal by clicking Show Applications and typing terminal in the search box:
That will open the terminal window. As this is the first time you are running Ubuntu, check if there are any updates and upgrades available. Type the following commands in the terminal:
sudo apt-get update
sudo apt-get upgrade
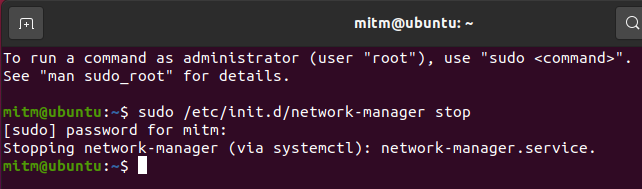
Updates/upgrades might take some time. Once they are finished type the following command to stop the network manager:
sudo /etc/init.d/network-manager stop
That will stop the network manager. You will also see that the three-triangle icon is disappeared from the top right corner.
![]()
To turn back ON, type:
sudo /etc/init.d/network-manager start
That should also bring back the three-triangle icon at the top right corner.
In Kali Linux: sudo /etc/init.d/networking stop
Step-3: Shutdown Wireless Interface
Before we make any changes to our adapter we need to shut the interface down first. We will use the ifconfig tool to do that. It is a system administration utility tool in Ubuntu for network interface configuration.
If you want to see all the network interfaces on your system type in your terminal:
ifconfig -a
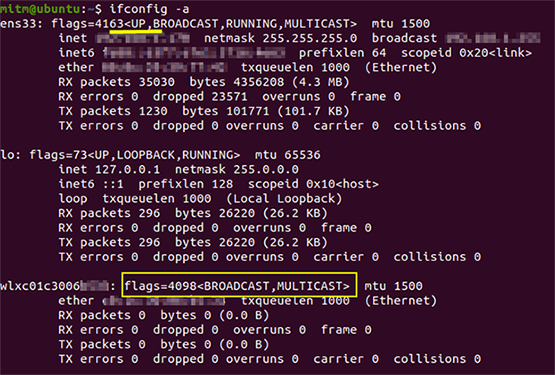
ens33 is my ethernet interface, which is UP. lo is the loopback. And wlxc01c3006xxxxx is my Atheros WiFi adapter. The flag of my adapter doesn’t contain the UP keyword i.e. the interface is already down. But if it was up, you could have shut it down by typing the following command:
sudo ifconfig wlxc01c3006xxxxx down
You should use your adapter’s interface name instead of wlxc01c3006xxxxx.
In Ubuntu, the wireless interface name consists of the mac address. In Kali Linux, your WiFi adapter might show up as wlan0.
Step-4: Switch Wireless Interface into Monitor Mode
To sniff WiFi packets we will have to change your adapter’s mode into Monitor mode (default: Managed). And for that, we will use another command-line tool, iwconfig. It is similar to ifconfig but is used to set the parameters of the network interface which are specific to the wireless operation (for example the frequency). If you execute iwconfig on the terminal it will show some specific parameters of your adapter:
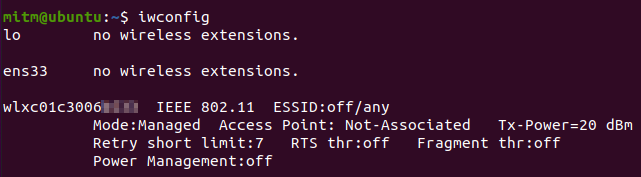
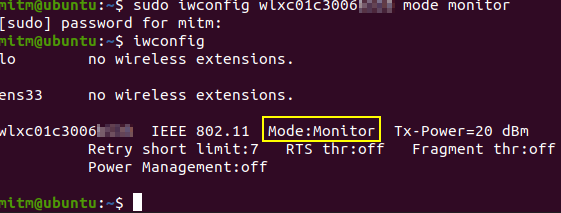
Notice, the mode is set to Managed. To change the mode to Monitor:
sudo iwconfig wlxc01c3006xxxxx mode monitor
To check if the mode changed or not execute iwconfig again.
Step-5: Bring Up the Wireless interface
Now let’s bring up your wireless interface.
sudo ifconfig wlxc01c3006xxxxx up

Step-6: Select a Channel to Monitor
All versions of Wi-Fi up to and including 802.11n (a, b, g, n) operate between the frequencies of 2400 and 2500MHz. This 100MHz bandwidth is separated into 14 channels of 20MHz each (see diagram below)[Imagesource].

You can select which channel do you want to sniff the packets from. Or you can write a bash script to cycle between channels. To select one specific channel:
sudo iwconfig wlxc01c3006xxxxx channel <channel no>

e.g.

sudo iwconfig wlxc01c3006xxxxx channel 1
In step-8 I will show how you can write a bash script to cycle channels.
Step-7: Start your sniffing
If all the commands were executed successfully, your adapter already started sniffing WiFi packets. Now let’s print/dump the sniffed packets into the terminal:
sudo tcpdump -i wlxc01c3006xxxxx
You should see all kinds of packets printing on the terminal one after another. To stop, press Ctrl + C. A snippet of my output of tcpdump is shown below:
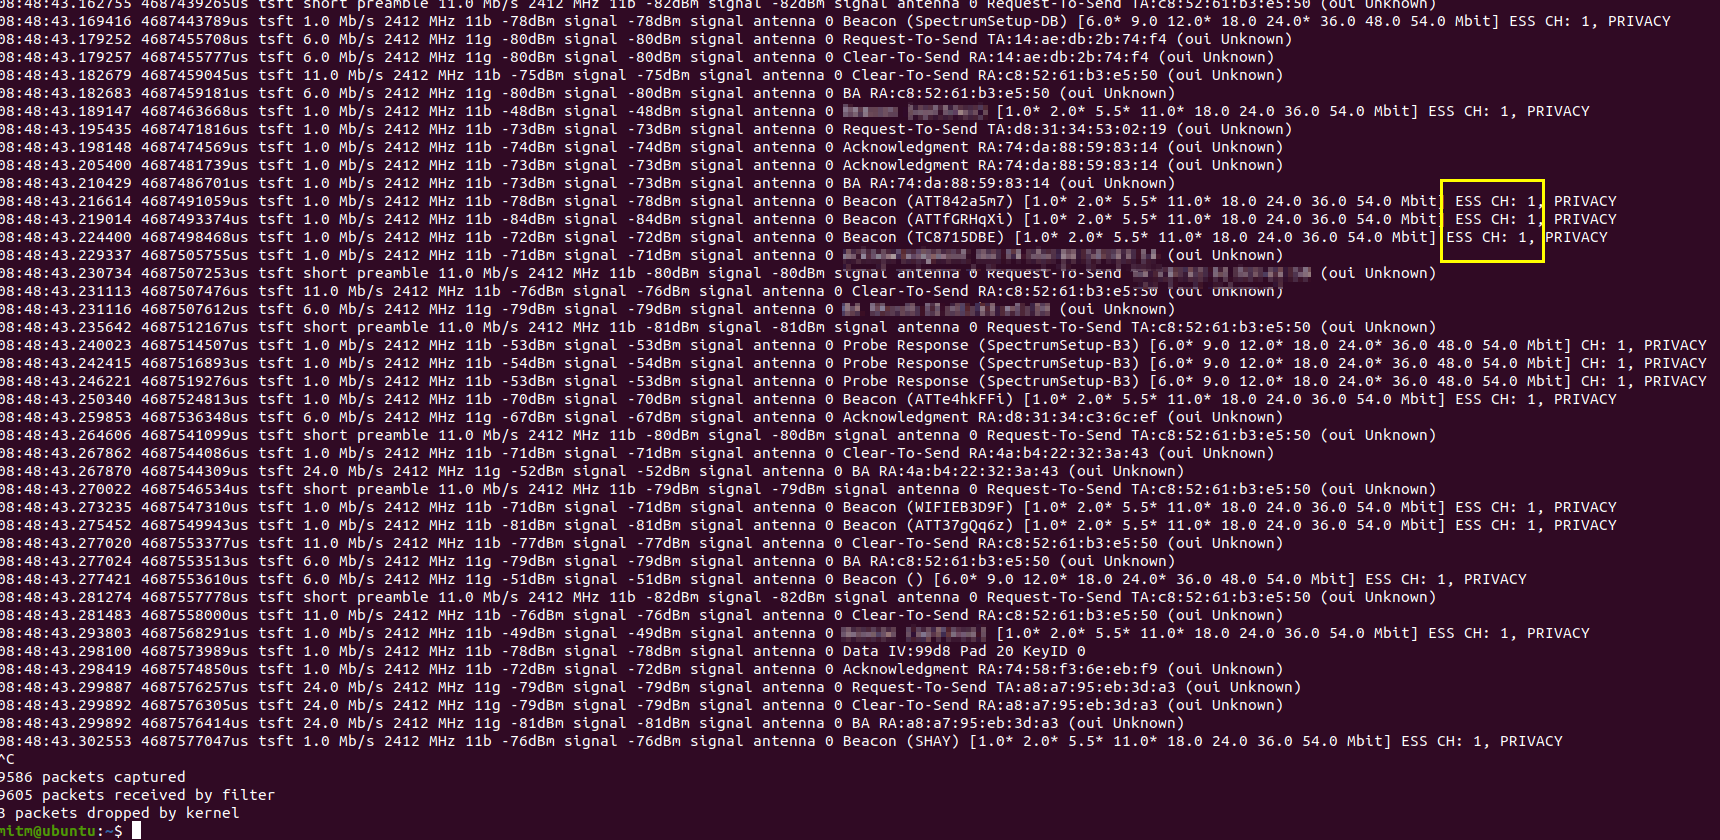
All the packets are from channel 1. You can change the channel on the fly. To do that just open another terminal window and execute the channel-change command while tcpdump is still running on the other terminal window.
Step-8: Cycle channels with a script
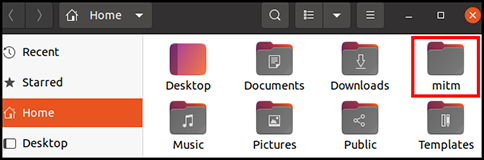
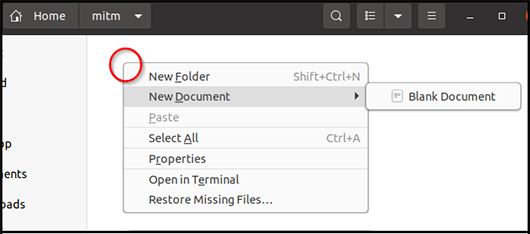
We are going to use a bash script to change channels from 1 to 13. I created a folder (mitm) in the home directory and a file, change_channel.sh, inside that folder. If you are a first-time Ubuntu user and found yourself flabbergasted about how the heck you create a blank text file because there aren’t any options on the right-click menu, no worries. Just check this link. You will have to do this once and after that, you can create a blank file using right-click menu.
Open change_channel.sh with a text editor and paste the following code:
1
2
3
4
5
6
7
8
#! /bin/bash

while [ 1 ]; do
    for CHNUM in {1..13}; do
        iwconfig wlxc01c3006xxxxx channel $CHNUM
        sleep 1
    done
done
It is a simple while forever loop. Inside that loop, there is a for-each loop. After we change a channel we wait for a second before we move on to the next channel.
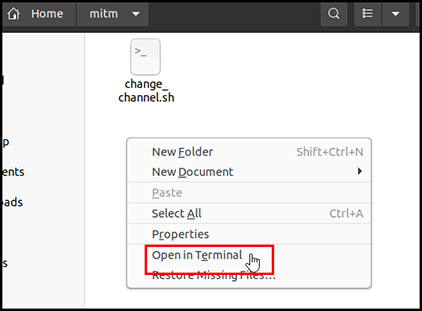
Save the file and open a terminal in that folder by right-clicking > “Open in Terminal”. Type the following command in the new terminal:
sudo chmod +x change_channel.sh
This will change your script into an executable. I am assuming you are already running tcpdump in another terminal. So let’s execute the script in the new terminal and observe how the tcpdump output changes. Type the following command in the new terminal:
sudo ./change_channel.sh
You should see different channels on the tcpdump. If you have a hard time noticing the CH parameter, you can use the grep tool to highlight it. grep is a command-line utility for searching plain-text data sets for lines that match a regular expression. To do that first stop the tcpdump (Ctrl + C). Then type the following command:
sudo tcpdump -i wlxc01c3006xxxxx | grep CH
This will only show the packets that have CH string.
Summarize
Here are all the commands that you will need to type in the terminal:
1
2
3
4
5
6
7
8
sudo /etc/init.d/network-manager stop
ifconfig -a
iwconfig
sudo ifconfig wlxc01c3006xxxxx down
sudo iwconfig wlxc01c3006xxxxx mode monitor
sudo ifconfig wlxc01c3006xxxxx up
sudo iwconfig wlxc01c3006xxxxx channel 1
sudo tcpdump -i wlxc01c3006xxxxx
Typing these commands every time we want to sniff doesn’t sound that bad, right?
Ok, Ok I am kidding. You don’t have to keep typing these commands over and over. We will put all these commands in a bash script and then will execute just that. Let’s create a file, monitor_mode.sh, in that mitm folder that we created earlier. Paste the following code:
1
2
3
4
5
6
7
#! /bin/bash

/etc/init.d/network-manager stop
ifconfig wlxc01c3006xxxxx down
iwconfig wlxc01c3006xxxxx mode monitor
sleep 1
ifconfig wlxc01c3006xxxxx up
I took out the sudo because we will run the bash-script with sudo. The commands will be executed faster than you can type, so I also put a 1-second wait so that the change can take place before bringing the adapter UP.
I didn’t add the channel selection command here, assuming you are going to run the channel-changing script. If you just want to sniff one channel then add that command in this script too. Once you are done adding the commands, and save the file, don’t forget to make the file executable.
In Kali Linux to stop Network Manager: sudo /etc/init.d/networking stop
2. Saving Packets
Ok, we are sniffing packets and seeing those packets in a terminal. But those are flying by fast. How do I save these packets so that I can analyze them later? By typing the following command:
sudo tcpdump -i wlxc01c3006xxxxx -w filename.pcap
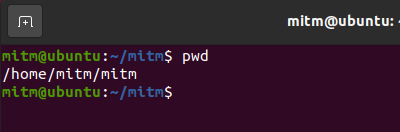
These packet-capture (pcap) files can be analyzed later in the Wireshark. If you open your terminal from inside the mitm folder, the file will be saved there. If you are not sure where the terminal saved your folder, type pwd. It will print your current directory.
If you want to read the file, type the following command:
sudo tcpdump -r filename.pcap
All the contents of that file will be dumped on the terminal. You can also limit the number of packets you want to read by typing the following:
sudo tcpdump -i wlxc01c3006xxxxx -c num_pkts -w filename.pcap

# To collect first 500 packets you would type:

sudo tcpdump -i wlxc01c3006xxxxx -c 500 -w filename.pcap
You can limit the file size too (capital C, in MB):
sudo tcpdump -i wlxc01c3006xxxxx -C file_size -w filename.pcap

# for 1MB, type:
sudo tcpdump -i wlxc01c3006xxxxx -C 1 -w filename.pcap
This tcpdump cheatsheet might come in handy.
That concludes the 2nd part of the tutorial. In the next part, I will show how you can create an access point, make a bridge between your internet connection and the access point, and sniff packets from the bridge.
Part-1: Introduction
Part-3: Access point, Bridging, and Wireshark